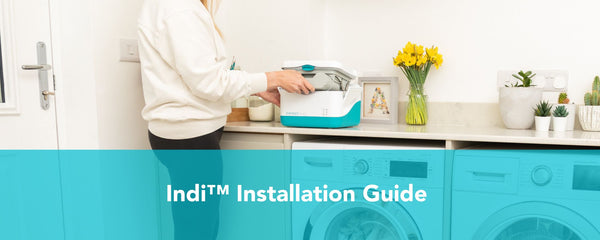
A guide to your easy, 10min self-install.
That's right! There are 10 basic steps, that take roughly 10 minutes, to set up your installation.
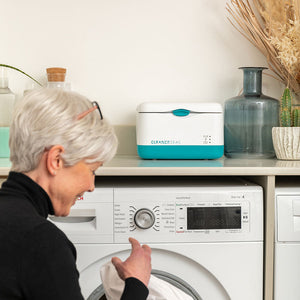
- Locate your washing machine wastewater pipe.
- Check you have all the elements you need in your Indi™ box.
- Washing machine OFF and cycle complete then place your Indi™ as close as you can.
- Insert your 2 x AA batteries on the base and open your Indi™ to insert your cartridge inside and close again - ensuring both side clasps are closed.
- Pop your existing washing machine waste water pipe over the INLET valve on the back.
- Secure tightly with the provided jubilee clip.
- Pop your provided wastewater pipe over the OUTLET valve.
- Secure tightly with the provided jubilee clip.
- Pop the only loose pipe end of your provided wastewater pipe back into your original washing machine wastewater system i.e under sink or standpipe.
- You're ready to go! Make sure you double check for any leaks and tighten all your clips after the first wash.
PRODUCT NOTICE: PLEASE READ BEFORE INSTALLATION
You will note that in our installation guides that Indi™'s lid is on a metal 'scissorlift' which means the lid 'pops-up' and holds itself in place while you change your cartridge etc.
The top still opens in the same way - via a side clasps and front catch but the top is now completely removable. The cartridge can still be removed and inserted in exactly the same way. This has been undertaken for 2 reasons:
1. To reduce the mixed components in the filter unit making it even more recyclable.
2. To enable you to clean inside the Indi™ unit every 2-3 months.
Any Questions please contact our customer service team on: customerservice@cleanerseasgroup.com
Step-By-Step Install Videos
We have also created some step-by-step video guides to make installation even easier. Find your existing washing machine set up below and follow the instructions.
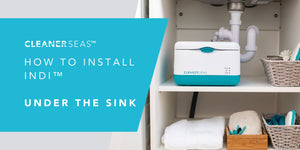
1. Under The Sink
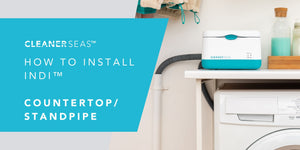
2. On The Countertop
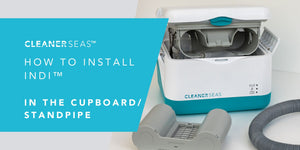
3. In The Cupboard
How to Change Your Indi™ Filter Cartridge
When your filter is full, usually after an average of about 100 washes but varies based on laundry soil, the LED warning light will illuminate on the front of your filter unit. That means it's time to change your cartridge. Changing your cartridge takes 5 mins. Follow the simple 5 step process below:
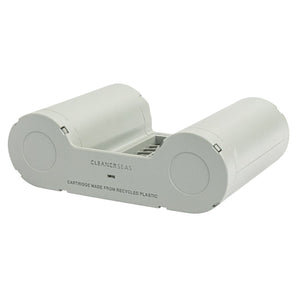
1. Fill out the return form here and we will send someone to collect your parcel. We will advise on a 3hr collection time slot. The collection driver will have a label to attach and we will email you the FREEPOST label too if you want to print + stick it on in advance.
2. What to do with your old cartridge before you send it: Once the old cartridge is removed from your Indi™ filter ensure that it is dry before placing in return packaging (we suggest just leaving it on some kitchen towel or toilet paper to gently dry).
Top Tip: Your NEW cartridge box works best for packing and sending.
3. Packing your cartridge up: Pop your used, dry Indi™ cartridge into the box your new one arrived in. Make sure this is sealed securely. Put your provided FREEPOST sticker on the front of the packaging either before your driver arrives or using the label they provide.
Have a Question?
If you need a downloadable PDF version of the install guide or any support on your install please get in touch: customerservice@cleanerseasgroup.com

